

Taking good photos underwater means using special equipment. What's the "best" gear for you depends on how much you want to spend, your experience, what you want to photograph, and if you'll be traveling with it. This guide looks at different gear setups, from basic to professional, to help you choose wisely.

Main Parts of Your Underwater Camera System
To make informed choices about your underwater photography setup, it’s helpful to first understand the key pieces of equipment involved. Each part plays a specific role in capturing images and protecting your gear in the challenging underwater environment.
Cameras
The camera is the heart of your system, influencing image quality, your level of control, and the lenses you can use. There are a few common types:
Action Cameras
These are small, durable, and often waterproof enough for shallow dives without an extra housing. They excel at wide-angle video and are very user-friendly, making them a popular starting choice.
Compact "Point-and-Shoot" Cameras
These generally offer better image quality and more control than action cameras. Many feature capable sensors and lenses, and some are inherently waterproof to certain depths.
Mirrorless Interchangeable Lens Cameras (MILC)
Available with Micro Four Thirds, APS-C, or Full Frame sensors, MILCs provide excellent image quality, extensive lens choices, and advanced features. They represent a strong option for serious photographers.
Digital Single-Lens Reflex Cameras (DSLR)
While less frequently chosen for new underwater setups due to the rise of mirrorless systems, DSLRs (both APS-C and Full Frame) remain relevant, particularly for those who already own and prefer them. They offer robust performance and a wide array of established lenses.
Underwater Housings
An underwater housing is an important case for protection. When choosing one, you should think about the material. Polycarbonate ones are lighter and less expensive, but metal ones last longer and help cool down cameras, but they cost more.
Just as important are settings and ergonomics that make it easy to use your camera's most important features. To be safe, always make sure that the housing's depth number is a comfortable amount higher than the depths you plan to dive to. If you're using a camera with changing lenses, the housing needs to have ports that work with those lenses. A leak monitoring system is a great feature that lets you know if there is any water inside, which could save your camera.
Lenses and Ports
For clear, interesting underwater pictures, you need the right optics. For changing lens cameras, this is especially true. However, some compact cameras can also use "wet lenses" that are added on.
For lenses, you should usually think about macro lenses (equivalent to 60mm, 90mm, or 100/105mm) for taking pictures of small things and fine features. Wide-angle lenses, like fisheye or rectilinear zooms, are needed for scenes with a lot of space, like islands or big animals. Because of how they focus, standard kit lenses aren't always better for use underwater.
The lens port is the hole in front of your lens that lets light in. Most of the time, closeup lenses have flat ports. Dome ports come in different sizes and are needed for wide-angle lenses to fix visual distortions caused by water and keep the field of view.
Wet glasses can be attached to the outside of the housing's port while it's submerged, which gives you more options. For close-ups, wet macro lenses (diopters) make things bigger. Wet wide-angle conversion lenses make the camera's view bigger, which is helpful for shooting bigger things.
Lighting (Strobes and Video Lights)
Because water absorbs light and color, artificial lighting is almost always needed beneath.
External flashes, or strobes, are very important for still photos. Their power (Guide Number) should be higher for wide scenes, and the beam angle should cover your lens's view.
In order for movement to happen, the strobe needs to be able to fire again quickly. Sync cords or fiber optic lines are used to connect strobes. Through-The-Lens (TTL) flash illumination is automatic, or you can use manual control for more control.
Videos need video lights, which are also called "Continuous Lights." These lights can help you focus. Lumens (brightness) and a wide beam angle are two important traits. If your Color Rendering Index (CRI) is high, the colors in your video will look realistic.
Take into account the light's run time and battery type as well. A lot of video lights and some strobes come with smaller focus lights that help your camera aim when it's dark.
Trays and Arms
A tray and arm system gives your camera housing a stable base and lets you move your lights around easily. Most trays have handles on them to make them more stable. You can put your lights in the right place with arms, which can be simple flex arms or flexible ball joints. Clamps connect the different parts of the arm and firmly attach the lights.

Example Gear Combinations for Different Needs
Considering the factors above, like budget and what you want to shoot, here are some typical gear setups. These range from basic to very advanced.
A quick note: The price ranges in the subheadings are rough estimates in USD. Actual costs vary a lot based on specific gear, where and when you buy, and sales. They’re just to give you a general idea, not exact prices.
Entry-Level: Casual Snorkeling and Diving (Approx. $300 - $900)
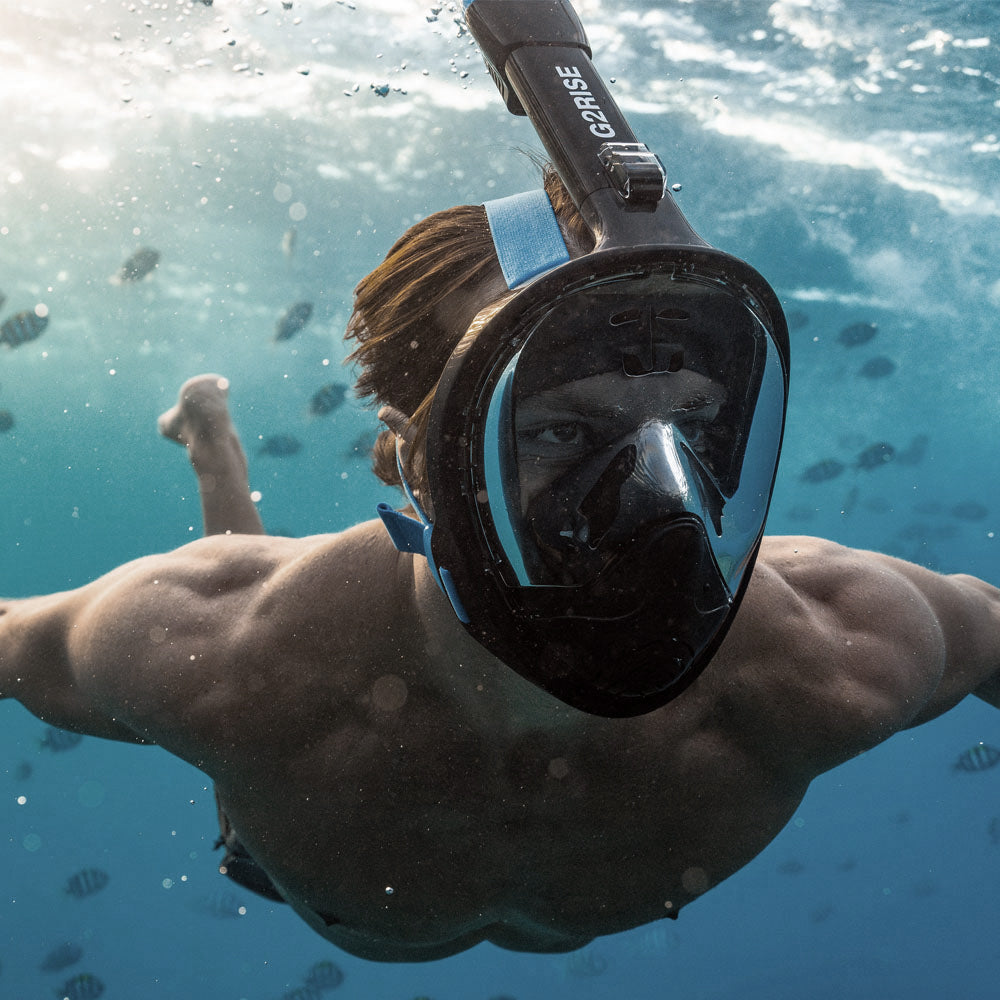
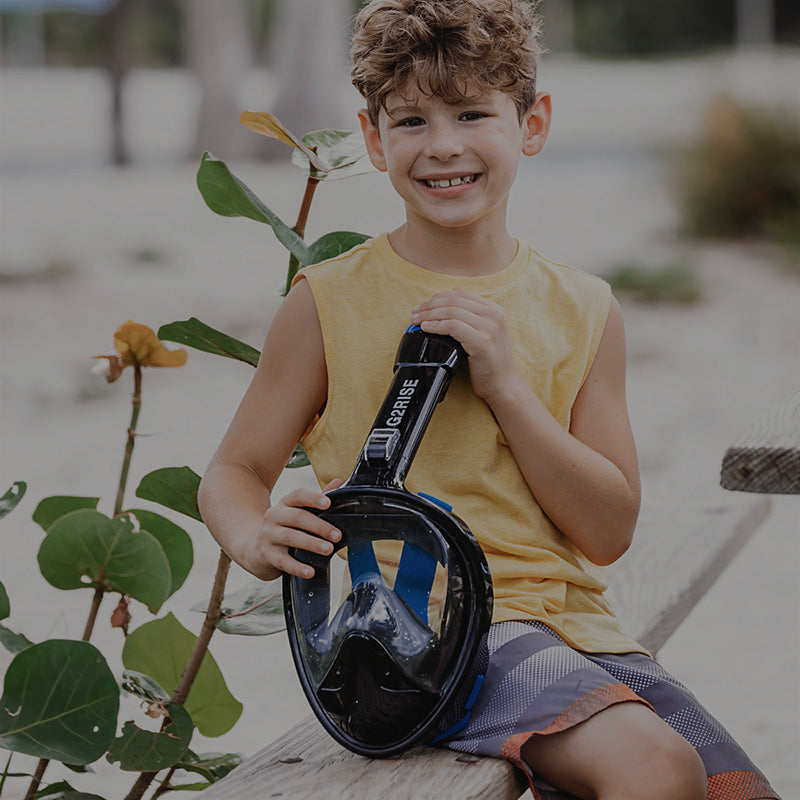
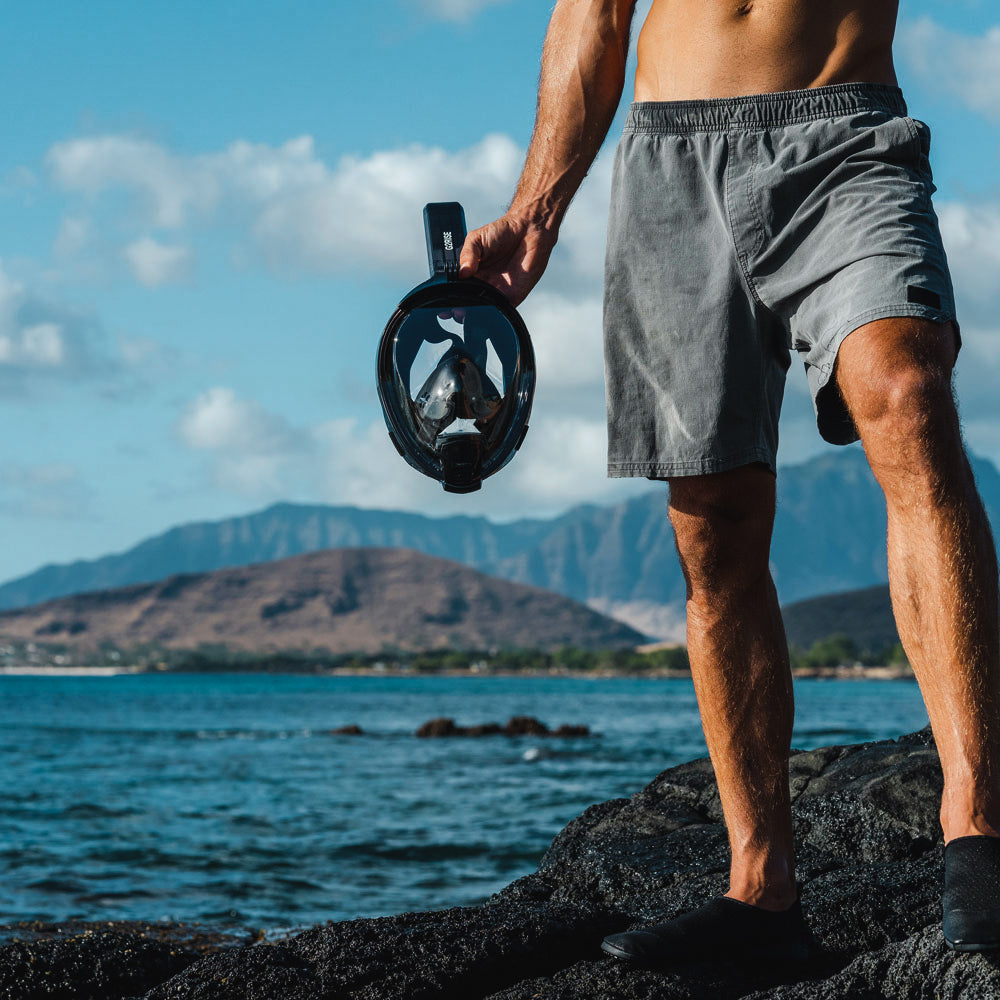
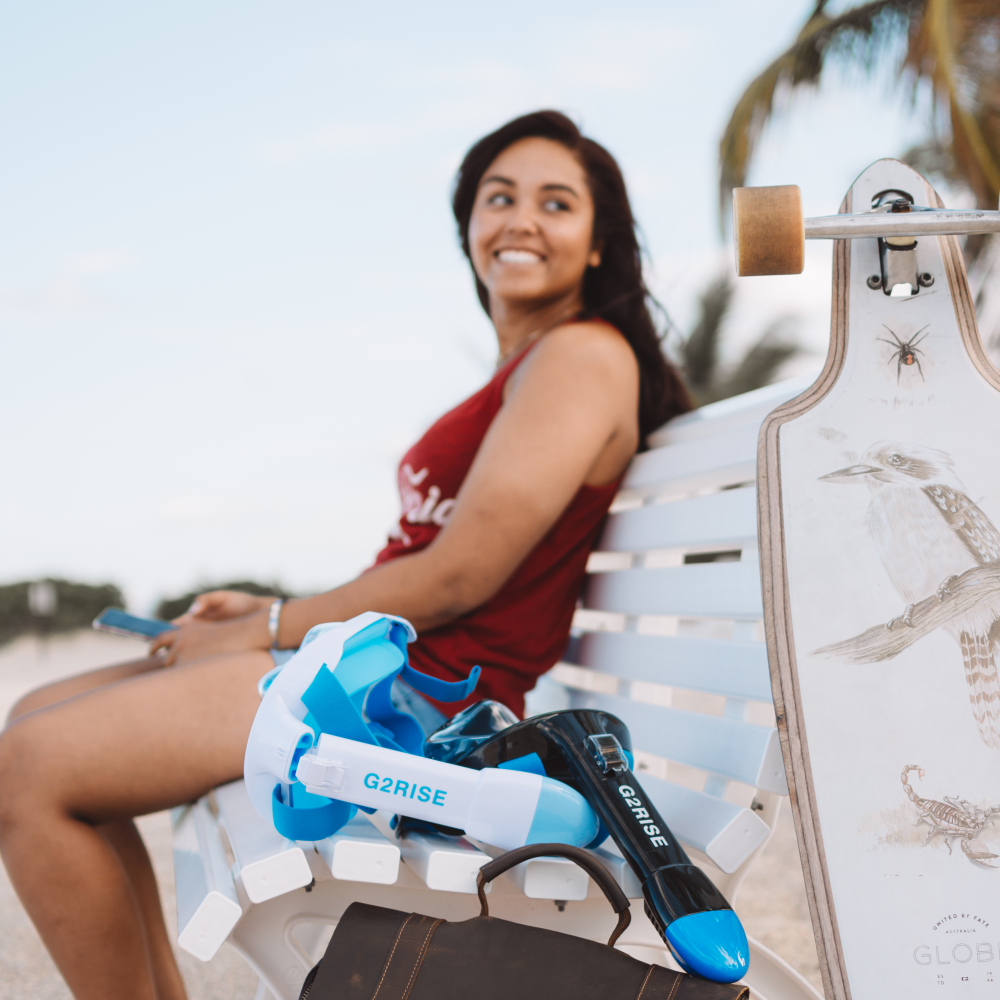
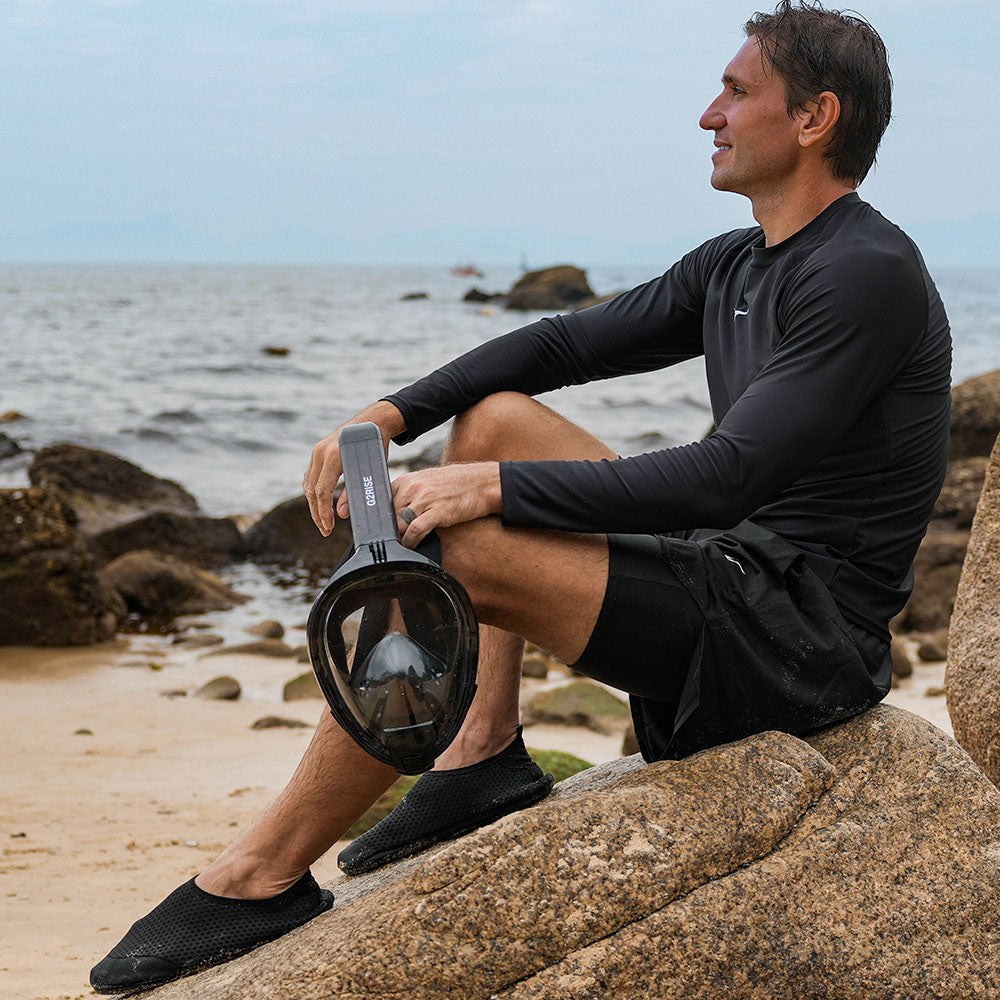
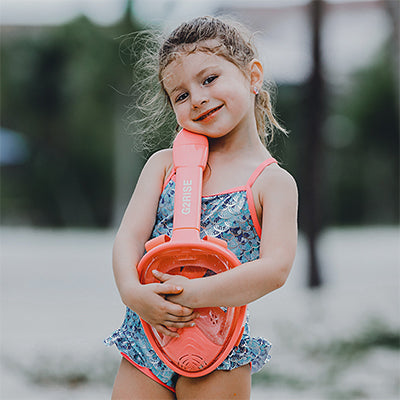
An action camera is a common place to start if you're new to diving or just want to explore underwater for fun. You can get a slightly better underwater case than the one that comes with it. Some full-face snorkel masks, like G2RISE's mask, now come with built-in camera mounts for snorkelers. This makes it easy and hands-free to record what you see and do underwater. It's fine to use natural light when the water is clear and not too deep. You can add color with a red screen or a small video light.
A lot of people like this set-up because it's small, cheap, simple to use, and great for wide-angle movies. But the quality of the still photos and the number of manual controls are restricted. Since the lens doesn't move or change, it's hard to get close shots of small things (macro).
Intermediate: Enthusiast Compact Camera Users (Approx. $1,500 - $3,500)
Try a high-tech compact camera if you want better pictures and more choices. A polycarbonate housing is what you'll most likely use, but simple metal ones might also be in this price range. A single external flash or a good small video light will make your shots look much better. Many add a second flash at the end to make the light more even.
It's very helpful to use wet lenses for this. Use macro lenses for close-ups and wide-angle lenses for bigger scenes. This lets you take more pictures. For outside lights, you'll need a tray and an arm. This set-up strikes a good mix between good pictures, size, and price. However, these cameras don't have as big of sensors as ones with interchangeable lenses, so they might not work as well in scenes with a lot of contrast or little light.
Advanced: Serious Hobbyists with Mirrorless Systems (Approx. $4,000 - $10,000)
A lot of serious users like mirrorless cameras (MILCs) with APS-C or Micro Four Thirds sensors. The housings are made of good polycarbonate or metal. For small things, you can use a real closeup lens with a flat port, and for big views, you can use a good fisheye or wide-angle lens with a dome port.
For good light coverage and control, lighting is generally made up of two medium to strong strobes. Add good camera lights if you also shoot video. To place lights well, you need a strong dual tray and arm device. These systems work very well, take great pictures, and come with a lot of lens options. Cons: They cost more and their gear is bigger and heavier than compacts.
Professional: Dedicated Full-Frame System Users (Approx. $10,000 - $25,000+)
Pros or very dedicated amateurs wanting top image quality usually use full-frame mirrorless cameras, or sometimes full-frame DSLRs. These cameras use premium aluminum housings, known for being tough with good controls. Lenses and ports are top-quality pro gear for both macro and wide-angle shots, with quality glass or acrylic ports.
Lighting means two powerful, fast-recycling strobes. For pro video, bright video lights that show colors accurately are standard. Tray and arm systems are the strongest you can get. Other common specialized gear includes optical viewfinders (for better framing), external video screens, and vacuum systems (to check housing seals). This gear gives the best images and control, but it costs the most, is the biggest and heaviest, and needs the most experience to use well.

Essential Accessories for Your Underwater Photo Kit
Whatever your main camera gear, these accessories are very useful:
- Spare Batteries: For your camera, strobes, and lights. Cold water can shorten battery life.
- Memory Cards: Get several large, fast cards. RAW photos need lots of space.
- O-ring Kit & Silicone Grease: O-rings keep water out. Check, clean, lightly grease, and replace them as needed.
- Desiccant Packs: Small packs to absorb moisture inside your housing.
- Lanyards & Clips: Attach gear to your BCD (diving vest) so you don't lose it.
- Cleaning Kit: Includes lens cloths, brushes, and sensor cleaners (for cameras with interchangeable lenses).
- Sturdy Gear Bag/Case: A padded bag or hard case protects your gear during travel.
These accessories help you prepare properly for your dives. They protect your valuable equipment and can prevent simple problems from interrupting your photography.

Assemble Your Underwater Photo Kit
The "best" underwater photo gear is the setup that fits your needs, budget, and what you want to photograph. It’s often a good idea to start with a solid, manageable system and add to it or upgrade as you get more skilled and interested. Good technique and understanding how light works underwater are just as important as the equipment itself.

Leave a comment
This site is protected by hCaptcha and the hCaptcha Privacy Policy and Terms of Service apply.