
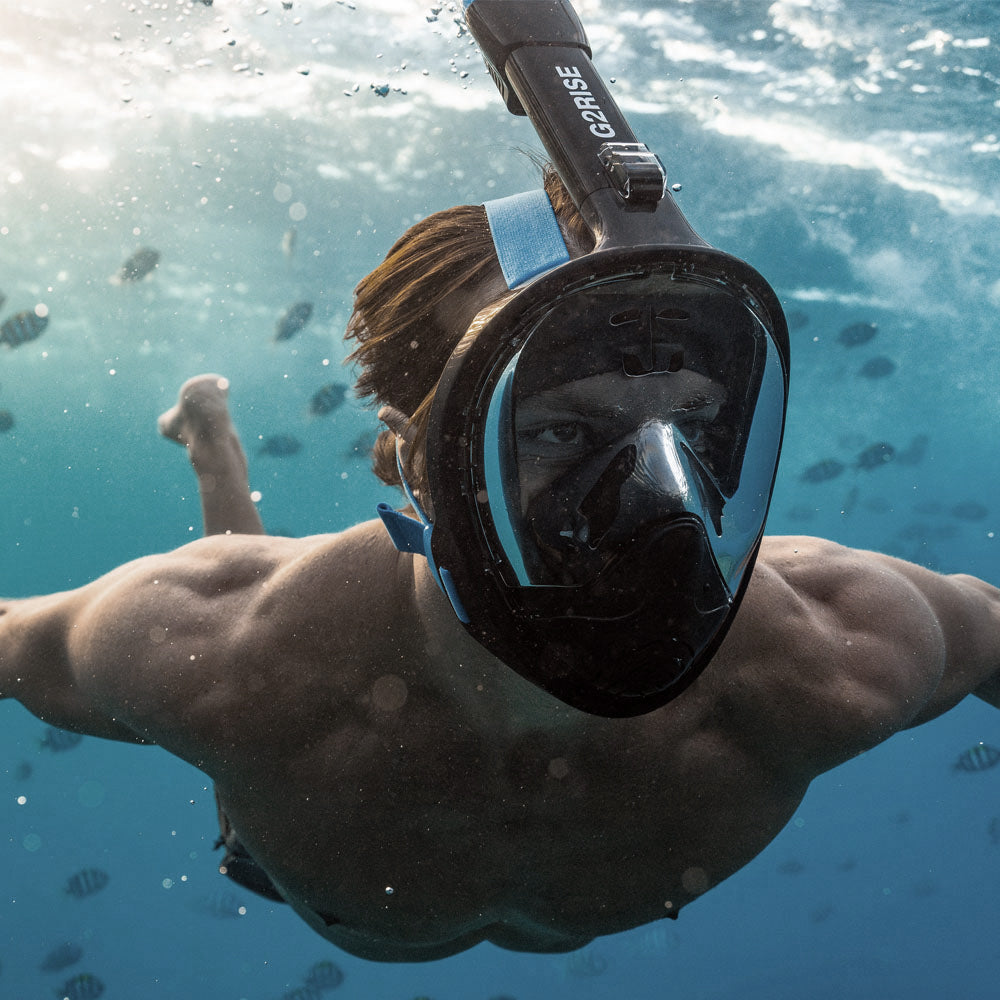
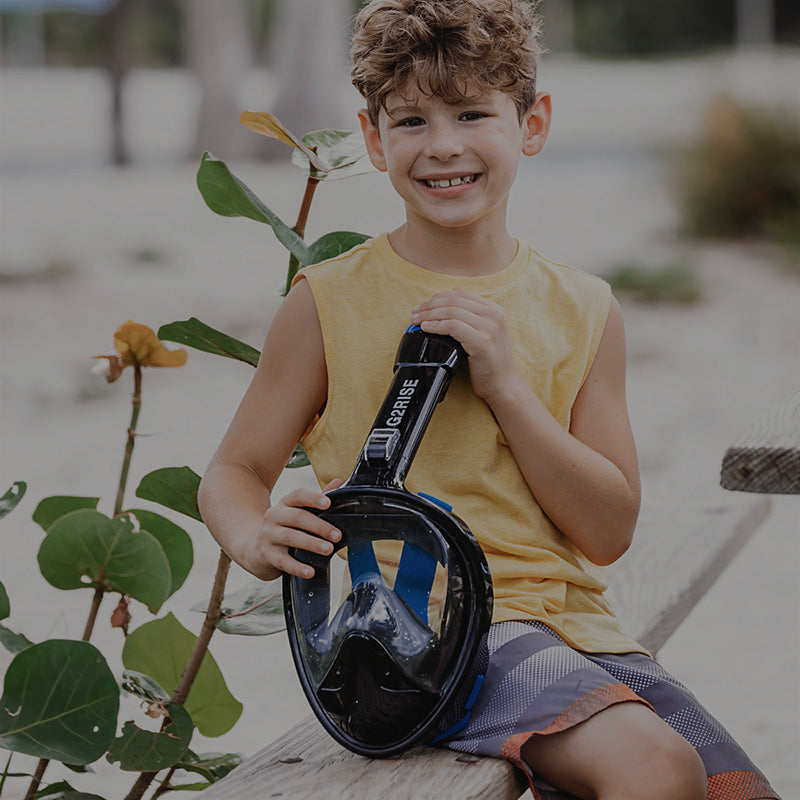
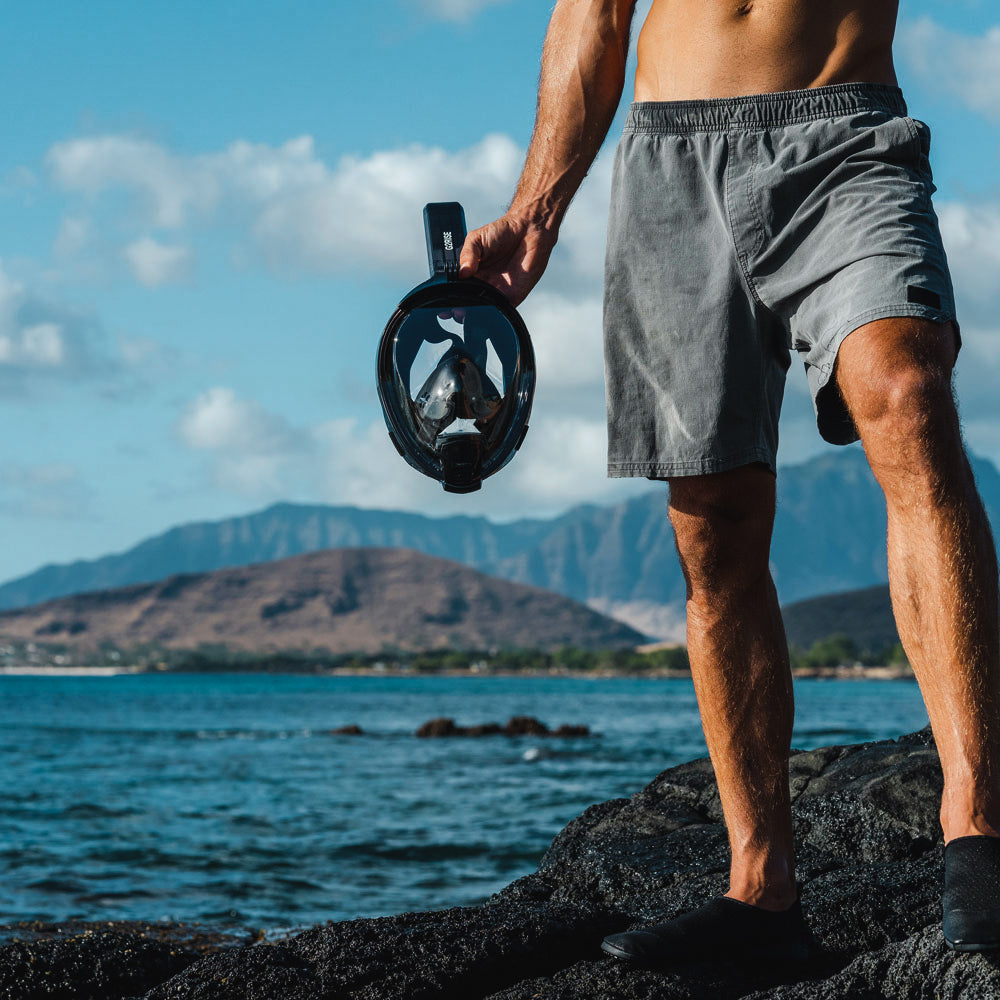
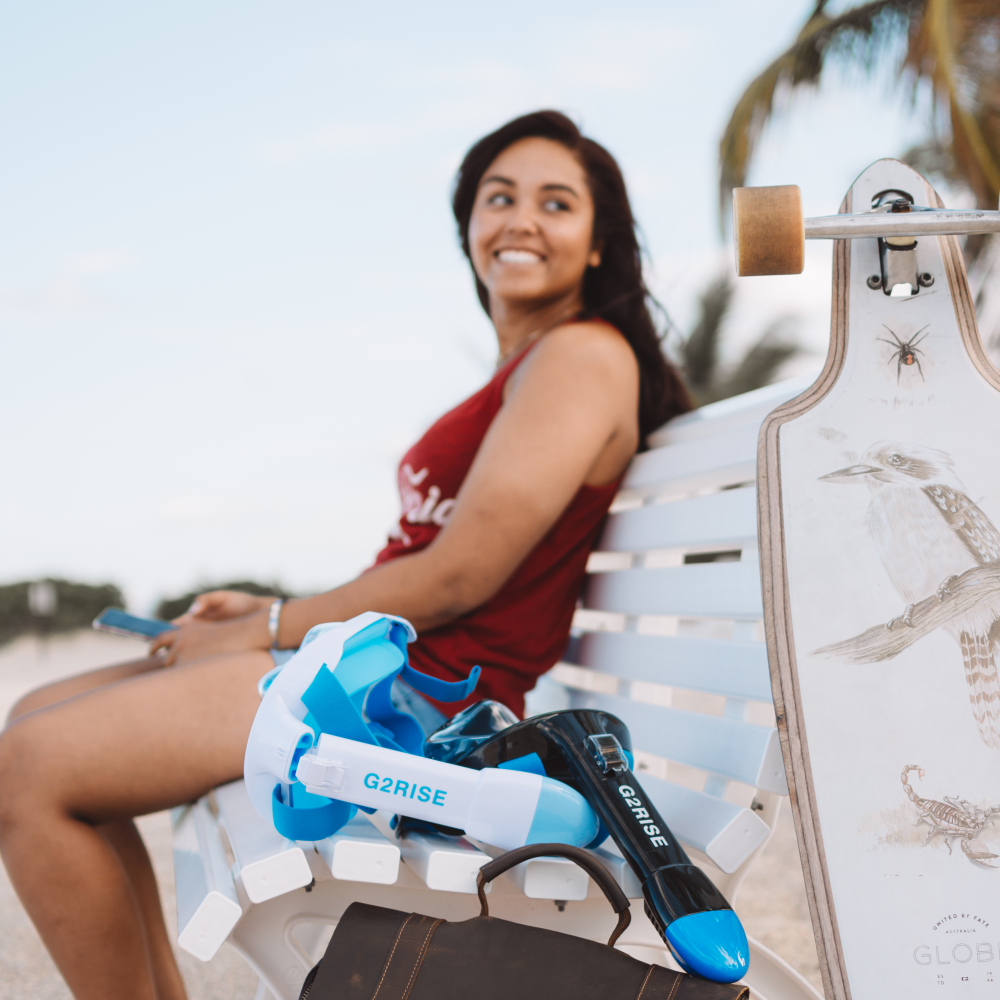

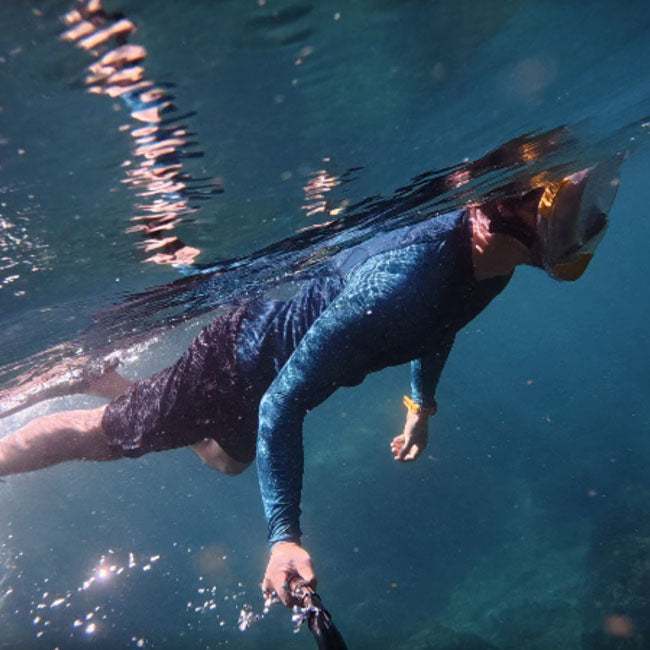
You don't need a dramatic underwater pose to bring home a photo worth keeping. A small fish crossing a bright patch of reef, your partner pointing at something you missed, or the ripples above a child's mask can tell the whole story. The useful skills are preparation, patience, and knowing when to put the camera away.
This guide explains how to take underwater photos with phone cameras during surface snorkeling. Start with a suitable underwater housing and follow its instructions. Get comfortable snorkeling before adding a camera, stay with your buddy, and keep full-face snorkel masks at the surface. No picture calls for holding your breath or going deeper.

What Should You Check Before Taking Your Phone Underwater?
Check your exact phone model, its condition, and the housing manufacturer's compatibility list before planning underwater photos. Treat the phone's water-resistance rating as a laboratory specification, not permission to swim with it unprotected. If you can't confirm a suitable housing and understand its instructions, keep your phone on shore.
Apple's water-resistance guidance is a useful example. Certain listed iPhones have an IP68 laboratory rating of up to 6 meters for 30 minutes. The same guidance advises against swimming with an iPhone or intentionally submerging it, and explains that resistance can decrease with wear. Those test numbers don't establish an underwater photography routine.
Also think about what happens if your only phone stops working. Keep travel details, emergency contacts, and your return arrangements accessible elsewhere. Back up existing photos before the trip. These are practical preparations, especially when your phone also holds your boarding pass and hotel reservation.
Inspect the screen, camera glass, and housing for damage. Check that the housing supports your phone's dimensions, camera arrangement, and any adapter it requires. A case advertised for a similar model may still cover a lens or leave a control unusable. Make that discovery at home.
How Do You Choose and Test a Compatible Underwater Housing?
Choose a housing explicitly intended for underwater photography with your phone, then follow its setup and inspection instructions exactly. Confirm the permitted environment, operating limits, controls, and maintenance requirements. Perform the manufacturer's recommended leak check before inserting the phone; a housing with damage or an uncertain seal stays out of the water.
A splash pouch and a purpose-built underwater housing can offer different controls and limitations. Don't judge either by a photograph of someone swimming with it. Read the current instructions for the actual model. Salt water, repeated use, and the accessories you attach may change the checks you need to make.
Prepare on a clean, dry surface. Look for hairs, sand, and lint where the manufacturer tells you to inspect. Use only the specified seal-care products and methods. Extra grease, improvised tape, or force isn't a repair for a seal that doesn't close correctly.
- Check every closure and the phone's seating position.
- Confirm that the lens looks through a clean, unobstructed window.
- Test the shutter control while holding the assembled housing.
- Check any retention accessory for fit and the manufacturer's intended use.
Never open the housing while floating to solve a settings problem. Return to a suitable dry place first. If you're uncertain whether moisture is inside, end the camera session and follow the housing instructions rather than gambling on another photograph.
Which Camera Controls Should You Set Before Entering the Water?
Set the camera mode, orientation, and shutter method while you're dry, then make a test photo through the closed housing. Verify that your chosen controls actually work with that housing. Keep the setup simple enough to operate without studying menus, and check the saved picture rather than assuming the shutter worked.
Start with the camera mode you already understand. A standard photo mode is usually easier to manage than an unfamiliar app demanding adjustments at every change in light. If your housing requires a specific app or connection, install it and finish any setup before leaving reliable internet access.
Make a short rehearsal: aim at a moving person, take a picture, and review it. Check whether the housing window blocks a lens when the phone switches cameras. Decide which orientation suits the scene. Horizontal frames can leave room for a buddy and the surrounding reef; a vertical frame may suit a simple portrait.
Turn off distracting notifications if that helps your routine, without assuming a phone is a reliable way to communicate underwater. Tell your buddy how you'll signal a pause or finish. Your camera arrangement should follow the snorkeling plan, not make the plan depend on a screen.
Check battery charge and available storage. Repeatedly deleting files while afloat is an avoidable distraction. Keep adjustments for the next break on shore.

How Do Light and Clear Water Improve Snorkeling Photos?
Use clear water and available daylight to simplify your first snorkeling photos. Look for an evenly lit subject that you can photograph from your existing surface position. Change your camera angle rather than chasing better light through the water, and abandon the shot if visibility or conditions make awareness harder.
Before raising the camera, look with your own eyes. Is the fish visible against the reef, or does it disappear into a busy background? Is your buddy's face shaded while the bright surface takes over the frame? A small change in direction may improve the photograph without any extra equipment.
Keep the sun generally behind or to the side of the camera when that gives the subject a clearer appearance. Don't stare toward the sun or assume a particular hour guarantees good water conditions. Cloud, glare, wind, and local conditions can matter more than a calendar recommendation.
Murky water leaves less visible detail to photograph. Digital editing can't reliably restore detail the camera never captured. If the scene looks like pale shapes through suspended sand, choose a broader scene, take an above-water memory, or save photography for another session. Avoid stirring the bottom with your fins.
The aim is to work with the conditions you have. A modest scene in clear water is a better learning exercise than an ambitious frame you can't see properly.
How Can You Frame Steadier Shots From the Surface?
Choose a single subject, settle into comfortable surface snorkeling, and aim the camera without changing your breathing to steady it. Support the housing as its instructions allow and move your arms slowly. Keep room around moving subjects so a small shift doesn't cut off a face, fin, or fish.
Think about the edges of the frame before pressing the shutter. A fish with space in front of its nose looks different from one squeezed against the edge. A family member's pointing hand may explain the moment better than another close crop of a mask.
Take a few deliberate frames, then lower your attention from the screen and reconnect with your surroundings and buddy. Don't brace on coral, stand on the reef, or use another snorkeler as a camera support. A steadier photograph isn't a reason to interfere with the environment or someone's movement.
For a portrait, agree on a simple position before entering the water. Photograph the person as they naturally float and look around. Don't ask a child to remove equipment, hold a breath, or repeat a pose they're uncomfortable doing. A relaxed picture at the surface still belongs in an underwater photo album.
If you're struggling to keep your position, stop photographing. Snorkeling without a camera is the useful next step, not a more complicated grip.
How Do You Fix Blue, Blurry, or Bubble-Filled Photos?
Identify the problem before changing settings: blur may come from movement, haze from the water or housing, and a blue cast from the available underwater light. Review pictures during a dry break. Fix the capture conditions first, then make modest edits to a copy while preserving the original file.
If every image is soft, inspect the housing window and camera glass in a suitable dry place. Smears or condensation can affect the whole scene. Follow the housing instructions to address them; opening the housing near spray or adding an unapproved product can create another problem.
If only the subject is blurred, try simpler scenes and more deliberate timing on the next session. Avoid using heavy digital zoom to compensate for a distant animal. Choose a picture showing the fish in its environment, or wait for another subject to enter view naturally.
For color, start with small changes to white balance, exposure, and contrast. Check that skin, sand, and reef colors still look plausible. A stronger orange slider isn't evidence that the scene is more accurate. Don't edit an animal's position to make an encounter appear closer than it was.
Bubbles stuck on the outside window may require attention using the manufacturer's permitted method. If clearing them requires awkward movements, leave the picture for later.

How Should You Care for the Housing and Back Up Your Photos?
Finish by following the housing manufacturer's cleaning and drying process, keeping it closed until the exterior and opening area are ready for removal. Transfer your files and check that the copies open before deleting anything. A successful photo session includes bringing the phone and the original images home in working condition.
Keep a clean towel and a place away from windblown sand for unpacking. Don't borrow a camera-cleaning method from a different housing. Instructions for rinsing, seal inspection, storage, and opening order belong to the equipment you're actually using.
Organize the pictures by trip and day. Keep the originals together, choose a small favorites folder, and store another copy separately from the phone. Check a sample from that second copy. A backup indicator alone doesn't tell you whether the particular image you wanted has finished transferring.
For your next outing, note one useful change: a cleaner window, an easier shutter control, or more space around moving subjects. You don't need to replace every piece of equipment after a disappointing first attempt.
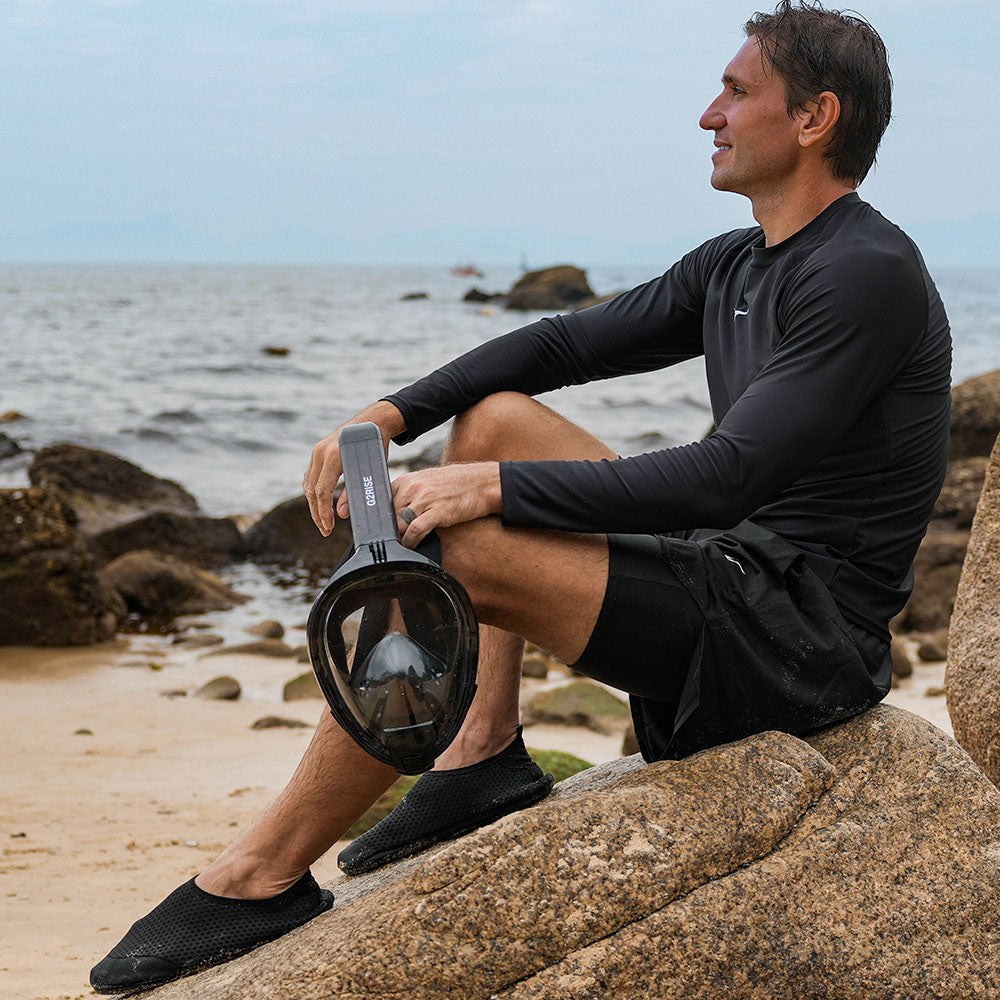
If you're still choosing snorkeling gear, start with the G2RISE SN01 product and sizing information. Follow its size chart, check the fit before travel, and remember that facial hair can affect the seal. A full-face snorkel mask is for surface snorkeling, not deep diving or breath-hold descents. Get the snorkeling comfortable first; let the photographs follow.

Leave a comment
This site is protected by hCaptcha and the hCaptcha Privacy Policy and Terms of Service apply.